Lately, I've been craving grilled cheese. So of course, this led to soup because how else can you justify grilled cheese for dinner? Or in my case, Red Beard would have a hissy if all I fed him was a sandwich for dinner. And the butternut squash I'd bought was thisclose to spoiling. And soup like this definitely qualifies as a winter food.
Side note: I'm sure you all remember the George Foreman Lean Mean Fat Reducing Grilling Machines, right? Come on, I bet you have one stashed somewhere in the back of a cupboard, all dusty and disgusting! Well, while it may not be what ol' George had planned, and it certainly isn't "lean", those little grills make excellent panini presses. As in, the BEST GRILLED CHEESE EVER. E-V-E-R. Hot, crispy, gooey, the middle is hot, and the outside is golden and delicious and perfect. Turkey and havarti on sourdough (with caramelized onions and roasted peppers); provolone, tomato, and avocado on wheat, colby on white .... it's like having your very own Gourmelt Truck, in your kitchen. Seriously. Dig through your appliance graveyard, pull it out, dust it off, and butter up some bread.
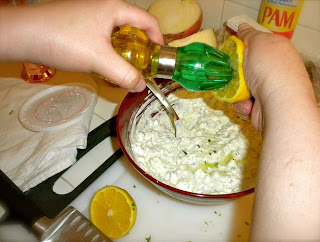
 |
| Ooooh, swirly! |
Where was I ...? Ahhhh yes, soup. Butternut squash soup. Even better, roasted butternut squash soup. Now don't pull that face. Everyone pulls a face when squash comes up, even my own mother. You're going to have to trust me though, this isn't like the squash or the squash soup you've had in the past. It's even far removed from what I was taught in culinary school. There's no heavy cream base, the vegetables aren't boiled into submission, and there's no heavy starchy babyfood-esque quality to it. I promise. And there's approximately 189 servings of vegetables and fruit in every bowl. If you're like me and have to force yourself to eat vegetables, this will help. It completely balances out all the cheese you're going to eat along with it.
This recipe is also easy peasy to amend for all of my vegetarian/vegan friends out there (amazingly, I have quite a few). Just omit the bacon, cream, and butter. You may have to use a bit more olive oil, and your only garnish will be the chives (so no pretty pretty swirl) but that's it. No fuss, no muss.
For those of you with kiddos and/or those of you who think squash is the devil, this has recipe has been tested out by a whole room full of adults (Red Beard included, and my mother) who pulled scrunchy faces at the mere mention of squash soup, as well as kids and teens ranging in age from 2 up to 14. With the exception of the 7 yr old (I do adore her, and I give her credit for trying it, but damn she's one picky eater!), everyone loved it and ate 2nd and 3rd helpings.
The ingredient list is fairly simple.
 |
| Okay, it may not look simple, but it is. Trust me. |
- Small Butternut Squash (you're aiming for about 1.5 lbs of diced squash, ready for oven)
- Olive Oil
- Salt (Sea or Kosher please, nothing iodized)
- Black Pepper
- 5 Cups Chicken Stock, low sodium (40 ounces)
- 2 Strips of Bacon (thick cut is always best!)
- 1/2 Medium Yellow Onion (or White or Purple, it's an onion not rocket science)
- 1 Leek, cleaned and trimmed, with most of the dark green top taken off
- 2 Carrots, peeled please
- 2 Celery Stalks (this is a great use for those rough 'n' tough outer stalks)
- 1 Granny Smith Apple (or any mostly green apple you've got hanging around)
- 1 Orange Bell Pepper (or yellow, but not red; red will make the color funny later)
- Flat Leaf/ Italian Parsley (if you have to use curly, I guess it's fine...)
- Fresh Sage
- 4 Garlic Cloves (big ones!)
- 1/2 cup White Wine
- 1 teaspoon Herbes de Provence (available almost anywhere & a very useful spice mix to keep on hand)
- Fresh Chives or Green Onions (optional)
- Balsamic Vinegar
- Sriracha Sauce (or whatever hot pepper sauce you like; but really, Sriracha is awesome)
- Heavy Cream (optional)
A quick note about the picture quality in this blog ... the battery on my digital camera gave out after about 4 pictures. Towards the middle, the pics start looking a little "different" - it's because I had to switch to the iPhone.
For the Roasted Squash:
This part can be done days ahead of time. I usually roast the squash at least the day before, because it makes getting soup on the table that much quicker the night you're serving it. Just make sure you cover it well and keep it in the fridge.
Preheat your oven to 400º F.
First, you'll need to peel and clean your squash.
Cut the squash across to separate the fat round bottom from the slimmer neck. It's easier to peel in two pieces. Peel using a regular vegetable peeler - the skin is thinner than you'd think.
Then, cut open the round bottom part (like a pumpkin) and scrape out the seeds and goo.
Cut all of the squash into a large dice (approximately 3/4 inch cubes). Toss with 1 tablespoon olive oil and about a 1/2 teaspoon each of salt and pepper; arrange in a single layer in a baking dish.
Roast, uncovered, for approximately 20 or 30 minutes. The squash should be very soft, soft enough to squish with a fork, and starting to get brown and toasty around the edges. Stir it once during the process.
Cut the squash across to separate the fat round bottom from the slimmer neck. It's easier to peel in two pieces. Peel using a regular vegetable peeler - the skin is thinner than you'd think.
 |
| Poor naked squash. |
Then, cut open the round bottom part (like a pumpkin) and scrape out the seeds and goo.
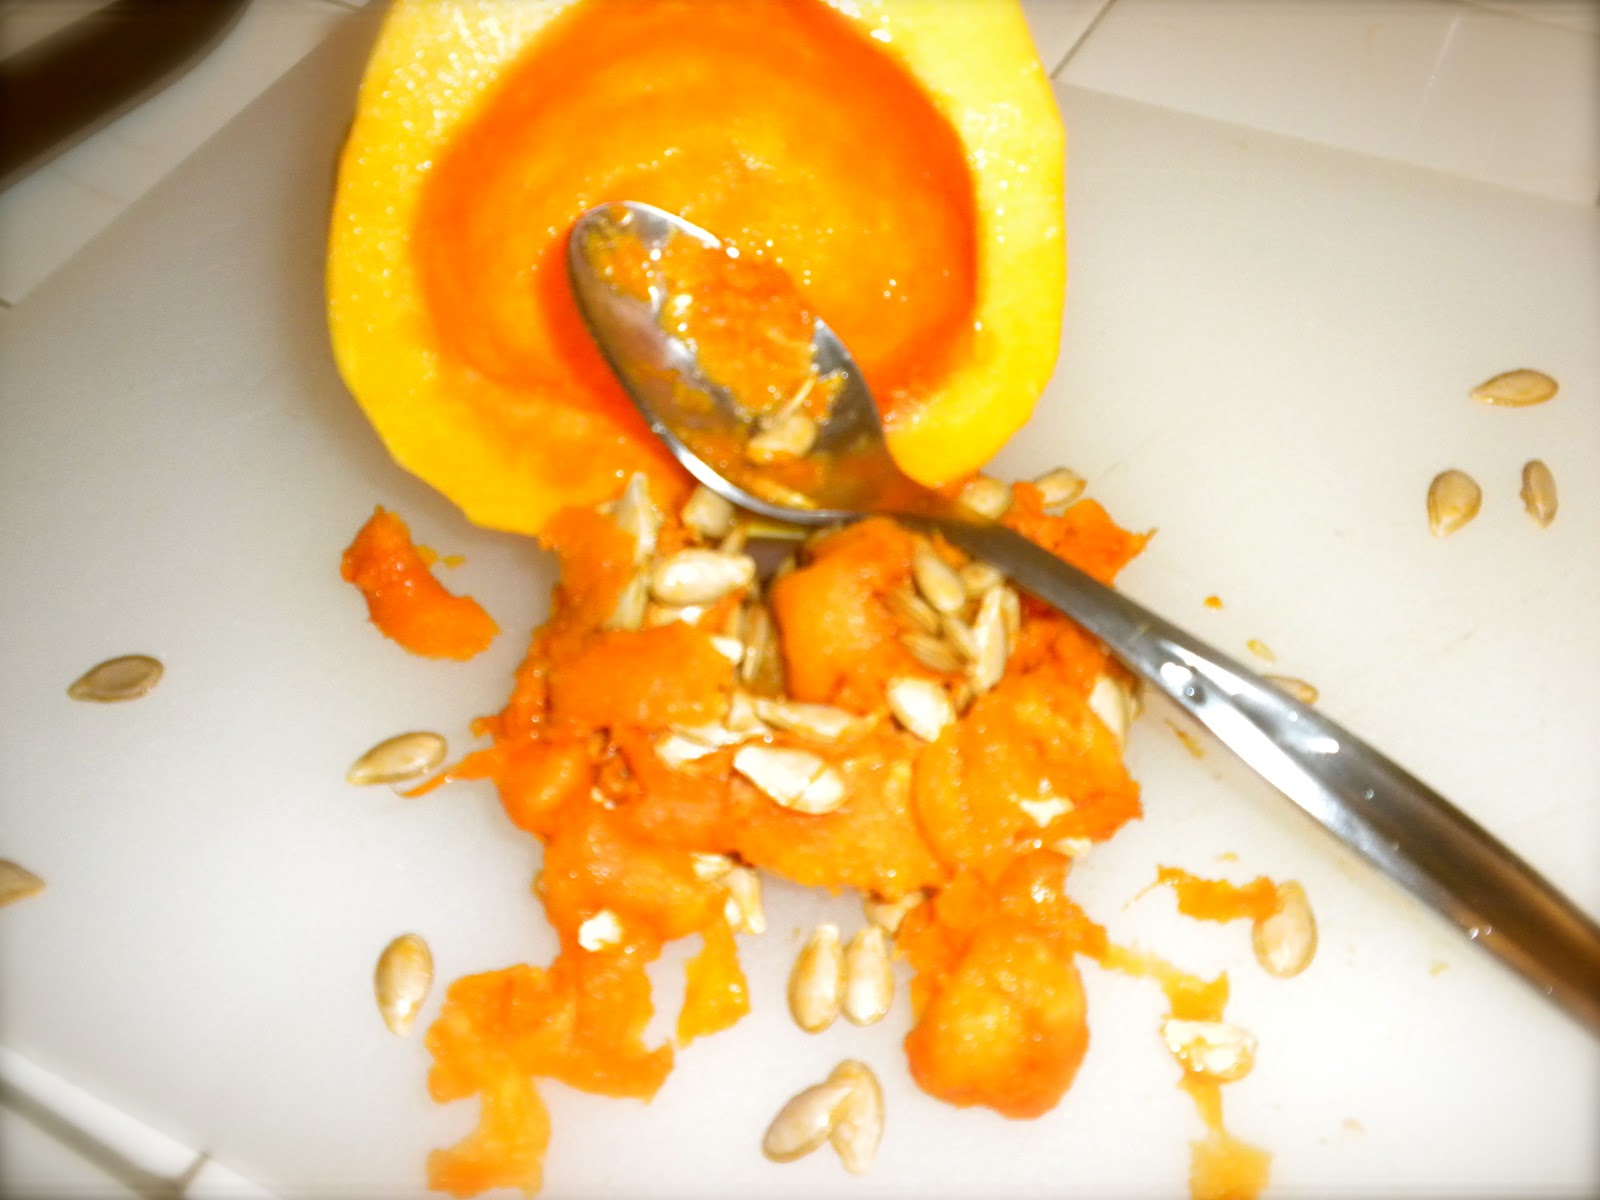 |
| Poor eviscerated squash. |
Cut all of the squash into a large dice (approximately 3/4 inch cubes). Toss with 1 tablespoon olive oil and about a 1/2 teaspoon each of salt and pepper; arrange in a single layer in a baking dish.
 |
| Okay ... APPROXIMATELY a single layer. |
Roast, uncovered, for approximately 20 or 30 minutes. The squash should be very soft, soft enough to squish with a fork, and starting to get brown and toasty around the edges. Stir it once during the process.
 |
| This is where the iPhone pics begin. |
After it's cooled, or the next day, or whenever you're ready to put all of this together, toss the squash into a blender with about 1.5 cups of the chicken stock and puree the heck out it. It should be really really smooth.
 |
| Smoother than a baby's butt. |
If it seems too thick, and it's not blending all the way, add some more liquid. If you're using an immersion blender, it's the same process just in a container. But, I have to say, for this step I prefer a blender - it seems to come out creamier. Though I do love an immersion blender; more on that later.
When you taste the puree, don't be alarmed; it will be really bland and have some of that starchiness and baby food quality that makes everyone terrified of squash. Don't bother seasoning it. Just set it aside and move on to the rest; it'll fix itself later.
 |
| Not yummy yet. Bleh! |
For the Soup:
One of the joys of a pureed soup is that you don't need to spend a lot of time making sure your vegetables are cut nicely and prettily. Instead, just aim for getting everything approximately the same size, in order for everything to cook evenly.
Cut all of the veg into a medium dice. Just keep your onions, leeks, and garlic a little separate from everything else because they're going to be added at different stages.
 |
| Like a half a rainbow.... |
The garlic doesn't even really have to be cut - just give it a good squish with the flat of your knife.
 |
| No curly parsley! No curly parsley! |
While you're cutting, go ahead and rough chop the parsley and sage as well. You're aiming for about a 1/4 cup of each, loosely packed.
 |
| Sage. A little stinky, but worth it in the end. |
Then, give your bacon a chop.
 |
| Now go wash your hands, the knife, & the cutting board - raw pork germs are nasty! |
Time to start cooking! In a shallower, heavy bottomed pot (not a deep stock pot you'd boil pasta in, you need room to maneuver), start your bacon on a low-to-medium heat - not too hot; while you want the bacon to get a little crispy, you also want the fat to render out.
 |
| Pork fat. Enough said. |
When the bacon is happy, add a little olive oil and some butter (about a 1/2 tablespoon of oil and 1 tablespoon of butter) to the pot, and add the onions and leeks. I think that sauteing everything (vs. chucking it all in raw to boil in the stock) keeps the flavors a lot fresher. Plus, all that browning and caramelizing it just yummy. While it may seem excessive to add extra fat on top of the bacon fat, it isn't. You're going to be adding a lot of veggies.
 |
| Breathe deep. |
When the onions are translucent and just starting to brown, and the leeks are soft, add the sage and parsley and herbes de provence, as well as the garlic. Let them hang out for about 2 minutes.
 |
| Another deep breath. If only blogs included scratch 'n' sniff. |
Now chuck in everything else, stir, and let cook for about 5 minutes longer. This should start smelling very very nice. Now deglaze your pot with the white wine, stirring and scraping to get any brown bits up off of the bottom of the pan. Brown bits = yumminess.
 |
| Just keep swimming, just keep swimming. |
In goes the rest of the chicken stock. Stir, bring up to a simmer, and allow to cook (covered) for 15 or 20 minutes - until the carrots are fork-tender.
 |
| Do not try this at home! |
Now, the Adorable Roomie and I like spicy foods. So at this point, I added 1 full teaspoon of sriracha sauce. Don't do this!! Wait, until after the whole thing is assembled, and then add a little at a time - start with maybe 1/4 to 1/2 a teaspoon and taste as you go. If you're cooking for kids, I'd just put the hot sauce on the table and let the adults spice up their own bowls.
To Assemble:
Now is the time to bring out your immersion blender. If you don't have one already, they aren't expensive at all, you should consider getting one. They are the best way ever to blend hot liquids, because you never have to take the hot liquid out of the original pot. And, it's just damn handy to be able to blend something in it's own container. But of course, a regular blender works great here too, just be careful because they can splatter and I'm not sure how much you need to cool the soup before it won't crack the glass on the blender (are blenders heat tempered? I've never checked).
It may seem odd that we've already pureed the squash, and now we're doing the soup separately. That's on purpose. In order to achieve the perfect texture it
really is best to puree the roasted squash separately from the soup
base. Trust me
when I say, it’s worth washing the extra dishes! The squash blends much smoother than the base and adds to the creaminess in the finished product.
I'm going to assume you've got an immersion blender, because that's what I used.
 |
| Whirrrrrrrrrrrrrrrrr. |
Set your pot of soup into your sink (to reduce splatter) and begin blending the base. When you're starting to see some progress, add the pureed squash and blend the entire mixture until it's as smooth as you can get it. It'll take a minute.
 |
| Pepper, pepper, and more pepper. |
Then, put the pot back onto the stove and bring it back up to a simmer. Season well with salt and lots and lots of pepper. Pepper is our friend. And I got a new pepper grinder for Christmas that I'm in love with and it's brought my love of pepper to a whole new level.
While you're at it, add 1 tablespoon of balsamic vinegar. Yes, it sounds weird. But it makes such a difference! A huge but subtle lovely difference that is oh so worth it. If you haven't added your spicy sriracha yet, add it now too (slowly, and in very small quantities).
Taste one last time, make any necessary adjustments, and start serving it up!
 |
| Is cream every bad? |
As a garnish, using about a half a tablespoon of heavy cream per bowl, drizzle the cream over the soup. Granted, this is completely optional, so if you don't want to add any calories or don't like things pretty (ahem), skip this step.
 |
| Please ignore my lack of a manicure. Eventually, I'll use my latest Groupon & get my damn nails done. |
Then, sprinkle the top with finely sliced chives, for just a little crunch and a burst of freshness.
|
| So pretty. So tasty. Even without a snowstorm. |
I can't even begin to tell you how wonderful this is. There's a fresh quality to it, where you can just tell it hasn't been cooked to death. There's a smooth creaminess that is surprising given the lack of dairy. And the overall flavor begs to be sipped slowly and savored.
I highly recommend you pair your soup with something grilled and gooey ....
 |
| Roasted peppers, caramelized onions, thin sliced turkey, & a whole lot of havarti. Ooooh, oozy. |
Soup recipe, all handy dandy and printable, is available over in my recipe box at Tasty Kitchen!